fabric weight guide
Category : Guide
Understanding fabric weight is essential for sewing and crafting‚ as it impacts drape‚ durability‚ and project suitability. Fabric weight is measured in GSM (grams per square meter) or ounces per square yard‚ with lighter fabrics (under 150 GSM) ideal for delicate projects and heavier fabrics (over 350 GSM) suited for structured garments. This guide helps you choose the right weight for your needs‚ ensuring optimal results in your creations.
Fabric weight refers to the measure of a fabric’s density and thickness‚ typically expressed in grams per square meter (GSM) or ounces per square yard (oz/yd). It plays a crucial role in determining a fabric’s drape‚ durability‚ and suitability for specific projects. Understanding fabric weight is essential for sewists and crafters‚ as it directly impacts the final outcome of a garment or textile creation. Lighter fabrics‚ such as chiffon or voile‚ are ideal for delicate‚ airy designs‚ while heavier fabrics‚ like denim or canvas‚ offer structure and longevity. This guide provides a comprehensive overview of fabric weight‚ helping you make informed decisions for your sewing and crafting endeavors.
Why Fabric Weight Matters in Sewing and Crafting
Fabric weight significantly influences the outcome of sewing and crafting projects. It determines the drape‚ flexibility‚ and durability of the material‚ ensuring the finished product meets functionality and aesthetic expectations. The right weight prevents issues like excessive fragility or stiffness. For instance‚ lightweight fabrics are ideal for loose-fitting garments‚ while heavier fabrics are better for structured pieces like bags or upholstery. Additionally‚ fabric weight affects sewing techniques‚ such as needle selection and stitch length. Choosing the appropriate weight ensures a professional finish and enhances the longevity of the project‚ making it crucial to consider for both beginners and experienced crafters.
Understanding Fabric Weight Measurements
Fabric weight is measured in GSM (grams per square meter) or oz/yd (ounces per square yard)‚ indicating material density. These metrics help determine fabric suitability for various projects.
GSM (Grams per Square Meter)
GSM stands for grams per square meter‚ a metric measurement of fabric weight. It indicates how much 1 square meter of fabric weighs in grams. Higher GSM values mean heavier‚ denser fabrics‚ while lower values signify lighter materials. For example‚ lightweight fabrics like chiffon or voile typically range from 30-150 GSM‚ while heavyweight fabrics like denim or canvas can exceed 350 GSM. GSM is widely used globally and provides a clear‚ objective way to compare fabric weights. Understanding GSM helps in selecting the right fabric for projects‚ ensuring the desired drape‚ durability‚ and functionality. This measurement is particularly useful for sewing enthusiasts and designers to achieve optimal results in their creations.
Ounces per Square Yard (oz/yd)
Ounces per square yard (oz/yd) is an imperial measurement of fabric weight‚ commonly used in the United States. It represents the weight of one square yard of fabric in ounces. Lightweight fabrics typically fall under 3 oz/yd‚ while midweight fabrics range from 3-6 oz/yd‚ and heavyweight fabrics exceed 6 oz/yd. This system is practical for comparing fabrics and selecting the appropriate weight for specific projects. For instance‚ delicate fabrics like silk or chiffon are often under 3 oz/yd‚ while sturdy materials like denim or canvas may weigh over 8 oz/yd. Understanding oz/yd helps in choosing fabrics that meet the requirements of various sewing and crafting applications‚ ensuring both functionality and aesthetic appeal. It is a reliable metric for achieving desired results in textile projects.
How Fabric Weight is Measured
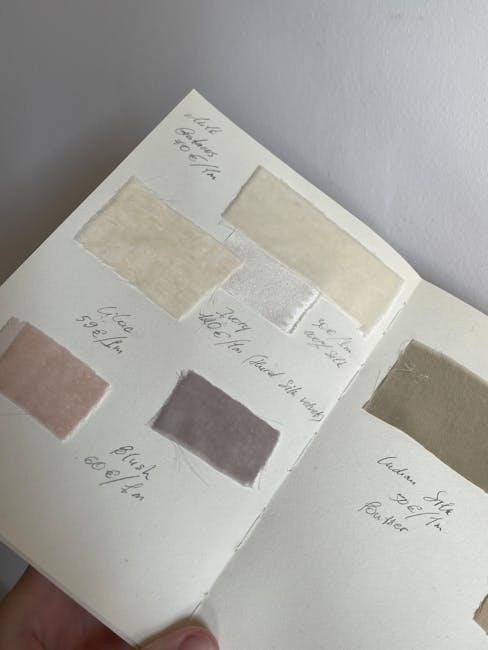
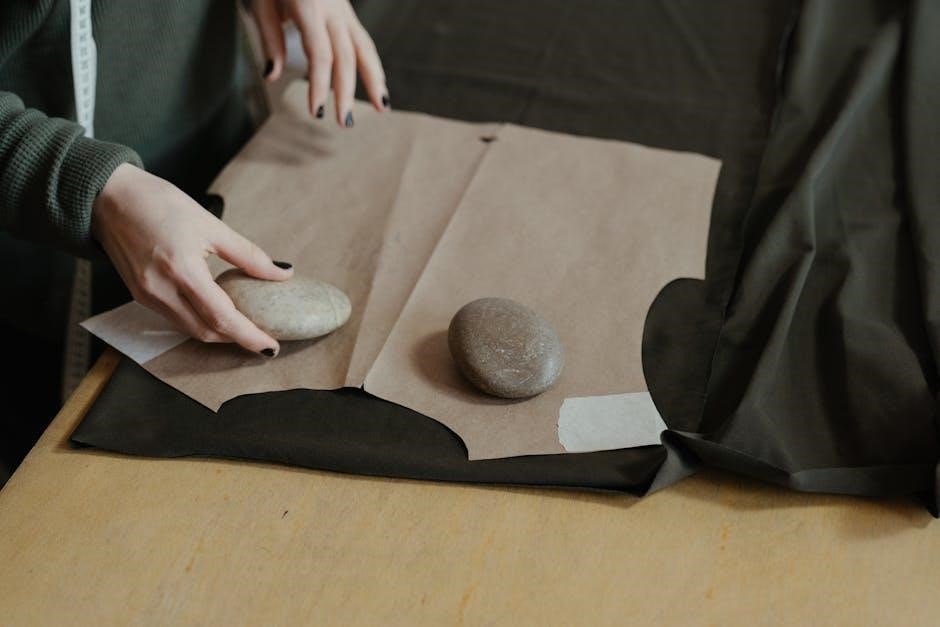
Fabric weight is measured by determining the weight of a specific area of fabric. For GSM (grams per square meter)‚ a 1-meter square sample is weighed in grams. For ounces per square yard (oz/yd)‚ a 1-yard square sample is measured in ounces. These measurements are standardized to ensure consistency across fabrics. A digital scale is often used for accuracy‚ and the fabric sample is typically pre-cut to the required size. This method allows for precise calculation of fabric density‚ which is crucial for selecting the right material for sewing projects. Understanding how fabric weight is measured helps in making informed decisions for various textile applications‚ ensuring optimal performance and durability in the final product.
Impact of Fabric Weight on Projects
Fabric weight significantly impacts a project’s drape‚ durability‚ and suitability‚ determining the appropriate sewing techniques and needle choices for optimal results in various textile applications.
Fabric Weight and Project Type
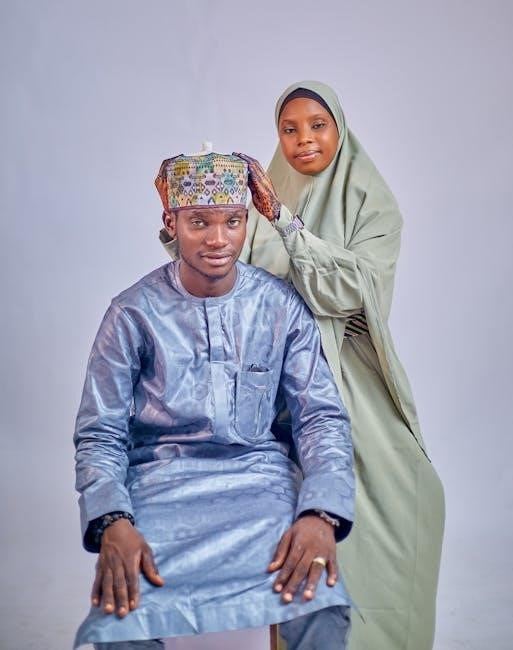
Fabric weight plays a crucial role in determining the suitability of materials for specific projects. Lightweight fabrics (under 150 GSM) are ideal for delicate garments like blouses or lingerie‚ offering a soft‚ airy texture. Midweight fabrics (150-350 GSM) are versatile and suitable for everyday items such as t-shirts‚ skirts‚ and lightweight jackets. Heavyweight fabrics (over 350 GSM) are best for structured projects like denim jeans‚ bags‚ or winter coats‚ providing durability and stability. Understanding the relationship between fabric weight and project type ensures that the final product meets functional and aesthetic requirements‚ whether it’s for apparel‚ upholstery‚ or accessories.
How Weight Affects Drape and Durability
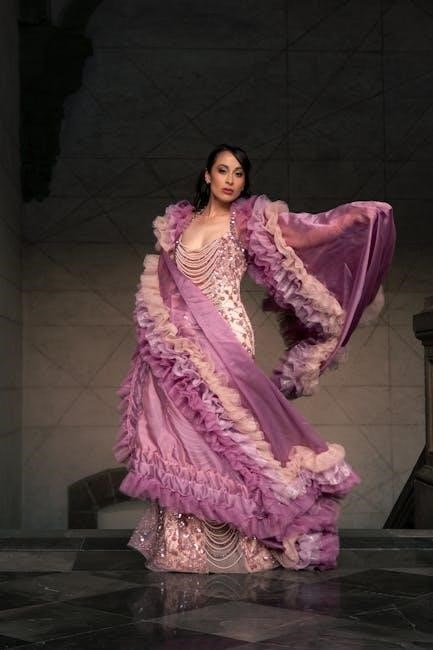
Fabric weight significantly influences both drape and durability. Lighter fabrics (under 150 GSM) offer a soft‚ flowing drape‚ making them ideal for garments requiring movement and elegance‚ like dresses or scarves. However‚ they may lack durability and are more prone to wear. Midweight fabrics (150-350 GSM) strike a balance‚ providing moderate drape while maintaining decent longevity. Heavyweight fabrics (over 350 GSM) sacrifice drape for durability‚ offering structural integrity and resistance to wear‚ making them perfect for sturdy projects like bags or upholstery. Understanding this relationship helps in selecting fabrics that meet both aesthetic and functional needs for specific projects.
Fabric Weight and Sewing Techniques
Fabric weight directly impacts sewing techniques‚ as different weights require tailored approaches. Lightweight fabrics (under 150 GSM) demand sharp needles and shorter stitches to prevent tearing‚ while medium-weight fabrics (150-350 GSM) work well with universal needles and standard machine settings. Heavyweight fabrics (over 350 GSM) need heavy-duty needles‚ longer stitches‚ and sometimes specialized equipment to handle their thickness. Additionally‚ fabric weight influences seam construction‚ with heavier fabrics often requiring stronger seams or interfacing for stability. Properly matching sewing techniques to fabric weight ensures professional-looking results and enhances the longevity of the finished project. Understanding these interactions is key to mastering various sewing applications.
Fabric Weight Chart
Fabric weight is categorized into lightweight (under 150 GSM)‚ midweight (150-350 GSM)‚ and heavyweight (over 350 GSM). These ranges guide project suitability and seasonal use effectively.
Lightweight‚ Midweight‚ and Heavyweight Fabrics
Lightweight fabrics‚ typically under 150 GSM‚ are ideal for delicate projects like dresses and linings‚ offering a soft‚ airy texture. Midweight fabrics (150-350 GSM) balance durability and comfort‚ perfect for everyday garments such as t-shirts and lightweight jackets. Heavyweight fabrics (over 350 GSM) are sturdy and long-lasting‚ best for structured items like denim jeans and winter coats. Each weight category serves specific purposes‚ ensuring the right material is chosen for optimal performance and aesthetics in various sewing and crafting applications.
Choosing the Right Fabric Weight

Choosing the right fabric weight involves considering project purpose‚ desired drape‚ durability needs‚ and seasonality to ensure optimal performance and aesthetics in your sewing or crafting endeavors.
Factors to Consider for Fabric Weight Selection
When selecting fabric weight‚ consider the project’s purpose‚ desired drape‚ and durability needs. Lightweight fabrics are ideal for delicate‚ flowing designs‚ while heavier fabrics offer structure and longevity. Seasonality also plays a role‚ with lighter weights suited for warm weather and heavier weights for cold climates. Additionally‚ think about the fabric’s stretch‚ softness‚ and breathability to ensure comfort and functionality. Your sewing experience and the tools you use‚ such as needles and threads‚ may also influence your choice. Balancing these factors ensures the final product meets your aesthetic and practical goals‚ making your project successful and enjoyable to create.
Seasonality and Fabric Weight
Seasonality significantly influences fabric weight selection‚ as different weights are better suited for specific times of the year. Lightweight fabrics (under 150 GSM) like cotton voile or silk are ideal for summer‚ offering breathability and a cool feel. Midweight fabrics (150-350 GSM)‚ such as denim or twill‚ are versatile for spring and fall‚ providing balanced comfort and durability. Heavyweight fabrics (over 350 GSM)‚ like wool or thick knits‚ are perfect for winter‚ offering warmth and structure. Considering the season ensures your project is both functional and comfortable‚ making it essential to align fabric weight with the time of year for optimal results.
Understanding fabric weight is crucial for ensuring durability and aesthetics. By considering GSM and ounces per square yard‚ you can make informed decisions for your projects‚ ensuring optimal results.
Key Takeaways for Working with Fabric Weight
Understanding fabric weight is vital for successful sewing and crafting. Fabric weight‚ measured in GSM (grams per square meter) or ounces per square yard‚ determines a fabric’s drape‚ durability‚ and suitability for specific projects. Lightweight fabrics (under 150 GSM) are ideal for delicate‚ flowing designs‚ while heavyweight fabrics (over 350 GSM) provide structure and longevity. Always consider the project’s purpose‚ seasonality‚ and desired drape when selecting fabric weight. Testing fabric swatches and using the right tools can help ensure accurate measurements. By choosing the appropriate weight‚ you can achieve professional-grade results‚ whether crafting garments‚ home decor‚ or accessories.